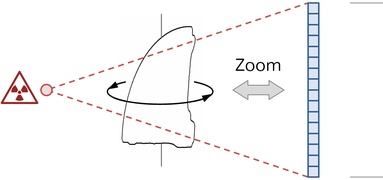
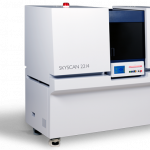
In X-Ray microtomography, the sample is positioned between the finely focused X-Ray source and the detector. The detector acquires projection images while the sample rotates incrementally around its own axis. Geometric magnification is achieved by moving the sample closer to the source.
Step 2
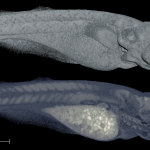
Reconstruction of Spatial Density
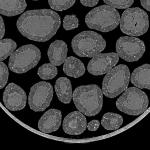
A filtered rear projection according to Feldkamp reconstructs the spatial sample density. The result is encoded as an image stack with an isotropic voxel size. A brighter grayscale value correlates with a higher sample density. Air is usually displayed in black.
Step 3
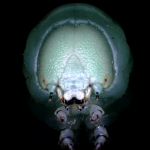
Data Analysis and Visualization
The reconstructed dataset is visualized by 3D volume rendering. Numerous applications are available from 3D analysis:
Error analysis of components and applicators
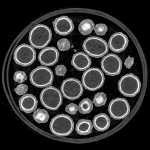
Analysis of density distributions
Pore, inclusion and particle analysis
Length and volume measurement
Metrology and CAD comparison
Grid models for simulations
Video Tutorial
Computed Tomography
Prof. Dr.-Ing. Rainer Schwab, University of Karlsruhe, supported by RJL Micro & Analytic GmbH